Chances are you do it all the time on your computer. You select, or highlight, text with your cursor, "copy" it, and then "paste" it into a document. You can use this same Copy & Paste technique within CallFire as well to create a list of contacts. It's our quickest way to add contacts — and the most popular!
- Jump to Section
- Copy & Paste
Copy & Paste
Click the Contacts tab from within your campaign.

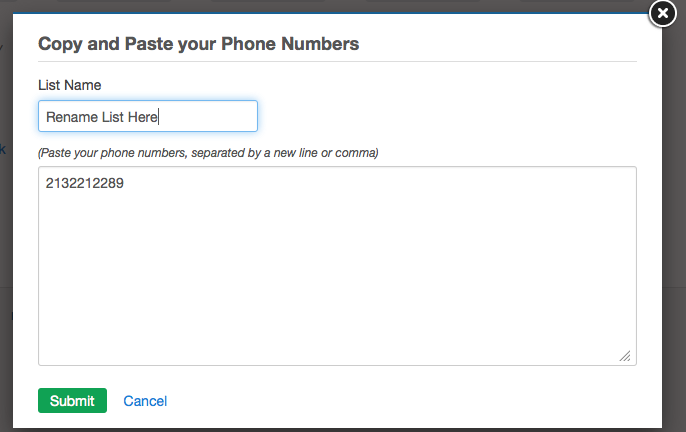
When you do so, the Copy and Paste your Phone Numbers pop-up window appears. Select, or "copy", the phone numbers from a Microsoft Excel or comma-separated value (CSV) document on your computer, and then "paste" them into this box. At the top of this box, you'll see a List Name field. Give your list a name. Then, please click the green SUBMIT button.
Next, you'll see the Validating (followed by the name of the list) pop-up box. As you can see below, CallFire's system performs a series of tests automatically for you to make sure your numbers are valid and formatted correctly. During these tests, you may receive error messages. Detailed explanations of the series of tests, as well as the error messages and how to resolve them, can be found in the Validating Contacts section of this help document.
Next, you'll return to Contacts tab, as shown below. You will see your list under the Batch Name column.
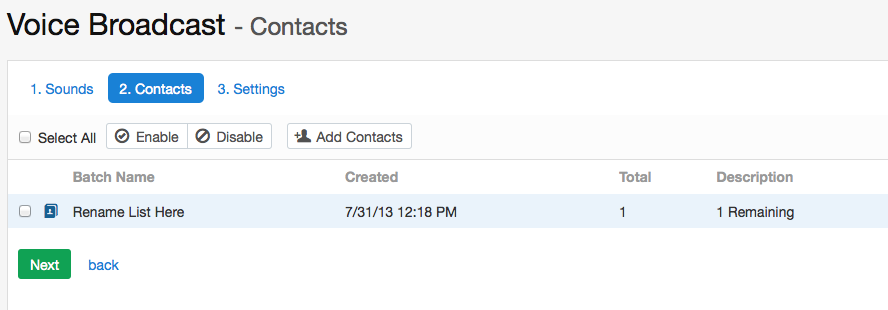
As you can see above, there is other important information in this screen. The Total column tells you how many of your numbers in the list have passed the validation process. And the Description column tells you how many numbers in that list remain to be called or texted.
Select the checkbox to the left of the list you'd like to use, then click the green NEXT button. This will take you to the Settings tab, where you make various selections about your campaign.