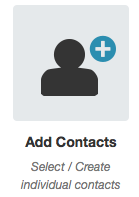
Sometimes, you don't need to reach out to a lot of people; you simply have one person to connect with. CallFire makes that effortless with the Add Contact button, your method for texting or calling just one contact.
- Jump to Section
- Add One or More Contacts
Add One or More Contacts
The example below shows you that the Add Contacts button is on the Contacts tab from within your campaign. Please click on it to begin adding individual contacts to your campaign.

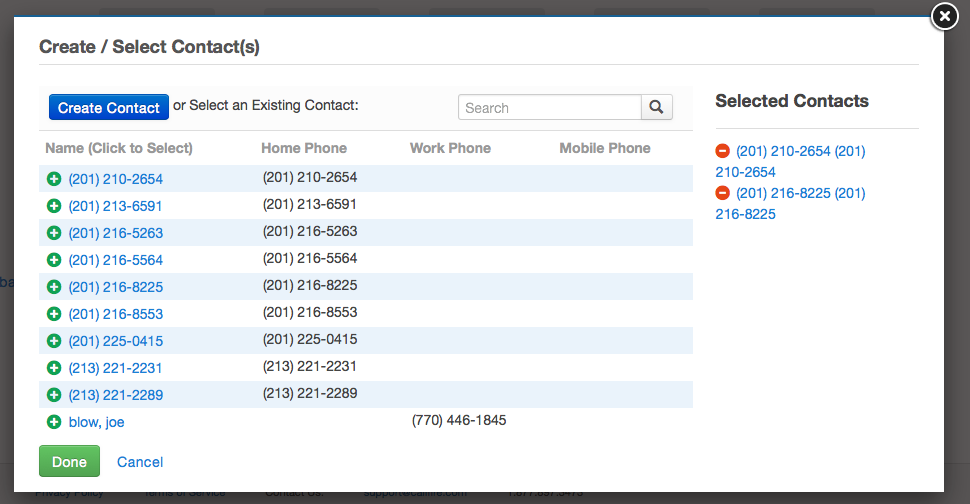
This will make the Create / Select Contact(s) screen come up. You can choose existing contacts to add to your campaign by clickin the green + icon. Each contact you select will move to the right under Selected Contacts. Click the red - icon to remove a contact from your list of selected choices. If you need to add a brand new contact, click the blue Create Contact button.
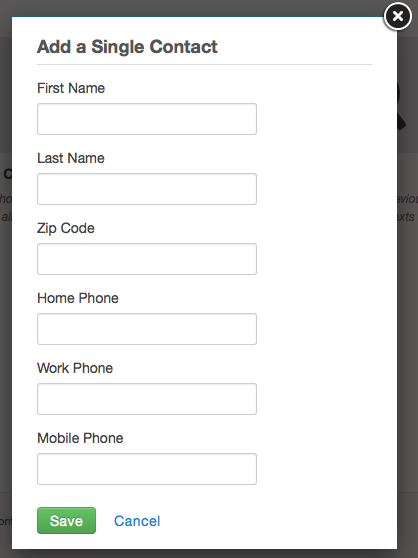
If you selected the blue Create Contact button, the Add a Single Contact pop-up box appears. Fill out the appropriate information, then click save.
Next, the Validating Single Contact pop-up window shows up, with the name of the contact you just added displayed in the title. CallFire's system automatically checks your contact for validity as part of our automatic validation process. More information on this process can be found in the Validating Contacts section of this help document. You'll need to accept the Terms of Service first. Then, please click the green Finish button.
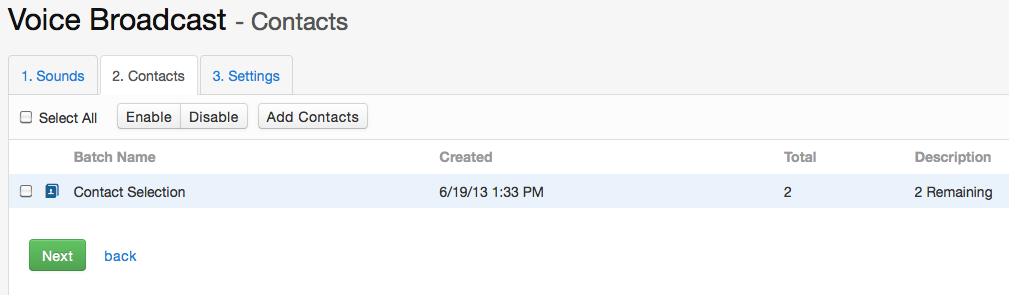
You are then returned to the Contacts tab. Your contact selection will appear in the Batch Name column; the Total column tells you the number of numbers that were validated; the Description column tells how many of your contacts have still yet to be called or texted. Check the box next to the contact, and then click Next.
This takes you to the Settings tab, where you will finalize your campaign. Instructions for doing so can be found in each of the major product categories.