When your outgoing call reaches a live person, CallFire’s system gives them the option of being transferred to a live representative via the Transfer option. In the Transfer section, you create a recording, or choose an existing one, that acknowledges their selection and informs them that they are being transferred to a representative.
- Table of Contents
- The Transfer box
The Transfer box
Please note that unlike the Live Answer, Answering Machine and Do Not Call options, which are enabled by default unless disabled by you, the Transfer option must be manually enabled.
So please click the Enable Transfer button now, as seen below, if you would like to activate this feature.

When enabled, as seen below, Select a Message and other options become visible.
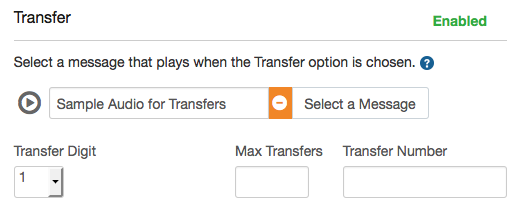
This box is used to select or create the Transfer message, designate the Transfer Digit, and choose a number that calls will be transferred to after the digit is pressed. You can also set a Max Transfer rate, which is the maximum number of transfers you want to receive at one time. For example, if you enter "2," CallFire will pause calling in your campaign if two people choose to transfer to you at the same time. Calls will resume when one of the two hangs up.
Click on the Select a Message button, and follow the same procedure employed you used before for creating or selecting a message in the Live Answer and/or Answering Machine boxes. In order to create a new message, click on the Create Message button on the Transfer Sound Selection pop-up box.
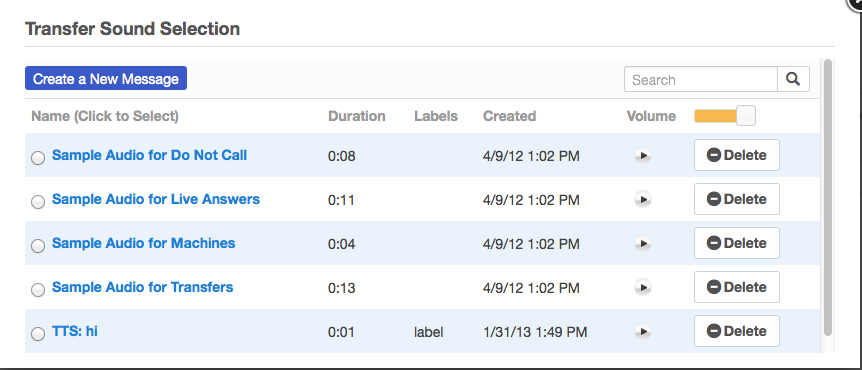
If needed, refer to Creating Messages in the Getting Started section for further information about the pop-up box — Create a Message — that appears.
Once you've selected or created a message, you’ll automatically be returned to the Transfer box, and your recording will show in the Create a Message box.
Next, in the Transfer Digit pulldown menu, choose the number that you indicated in your Live Answer recording would transfer listeners when pressed.
Then, in the Transfer Number field, type in the phone number to which calls will be transferred.