The third easy step in creating your CallFire Text Broadcast campaign is completing the Text Creation – Settings screen, or Settings tab. This tab is where you will name your campaign, place it within a label, schedule it for a later date or time, or start it immediately.
- Jump to Section
- The Settings tab
The Settings tab
As you can see below, the Text Creation - Settings page, or Settings tab, asks you to complete some important information for your campaign.
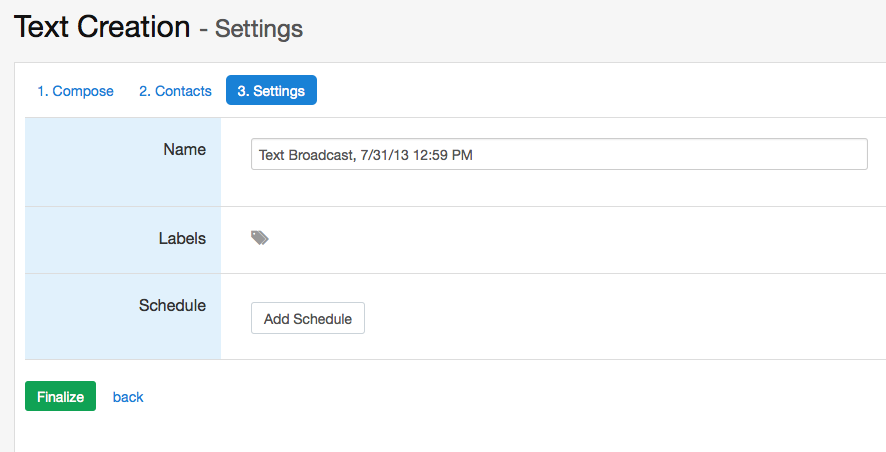
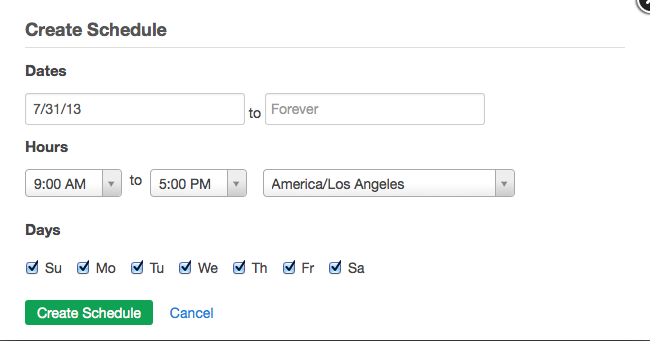
The first thing you’ll do on this page is create a name for your campaign in the Name box. Next, in the Labels box, if desired, you choose or create a label, such as “promotion reminders,” to help you categorize all of your broadcasts. Then, you can choose to start the campaign immediately by selecting the appropriate box, or you can click on the Add Schedule button. When you click on this button, as seen below, a Create Schedule pop-up box appears. Set your schedule, and then click the green Create Schedule button.
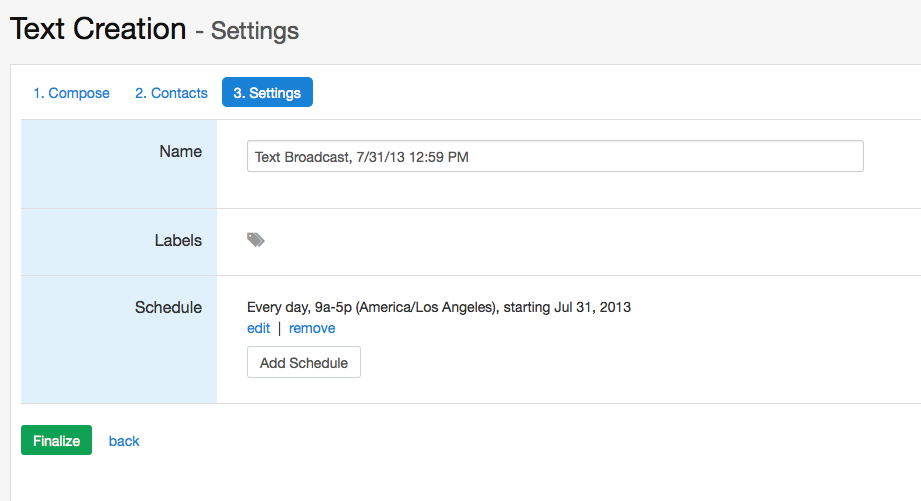
Once you've created your schedule, you'll see your scheduled campaign listed in the Update Campaign Settings box, as shown below.
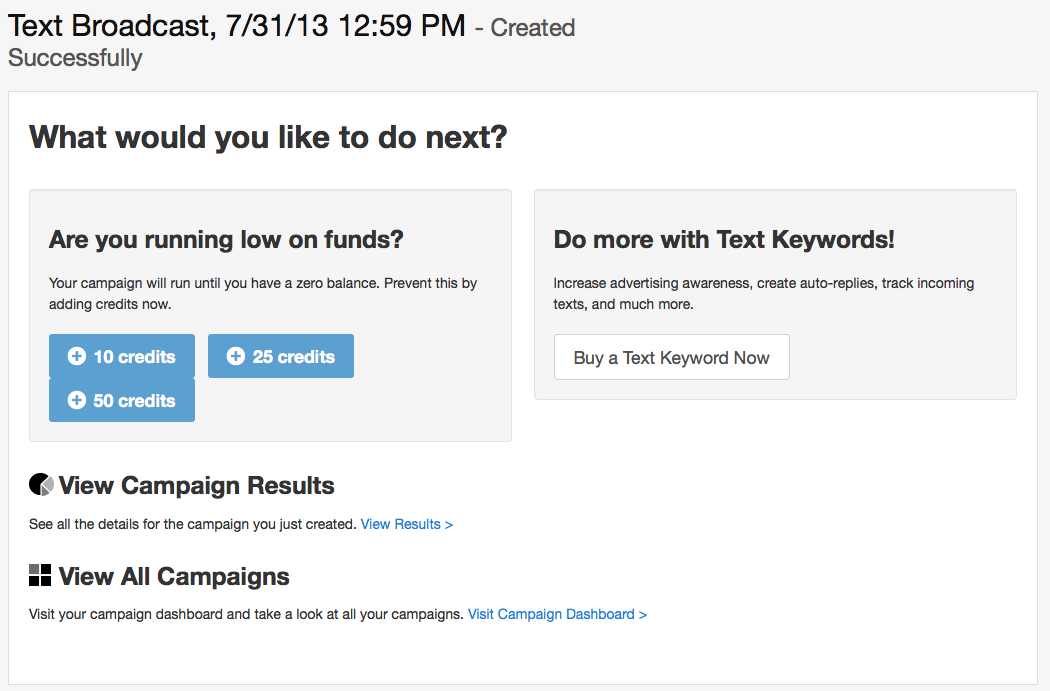
When you do so, you'll see a screen showing the name of your campaign, with followed by "-Created Successfully" and with two options for you to consider.Now, just click the green FINALIZE button.