Okay, you're almost done with your IVR. But a few important steps remain, such as naming your campaign, perhaps applying a label, and deciding whether to start your campaign immediately or scheduling it for a later time.
- Jump to Section
- IVR Settings
IVR Settings
The third tab you'll see when creating an IVR Broadcast is the Settings tab.
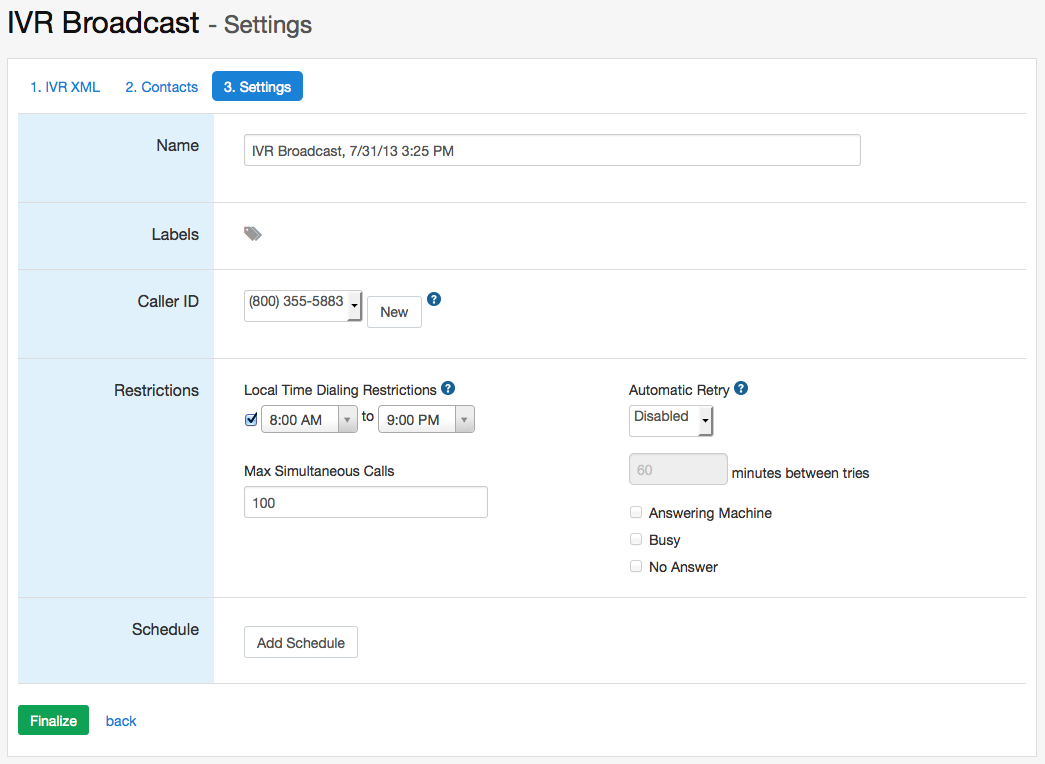
Name: Don't be shy — give your campaign a name!As seen above, there are several fields and functions to fill in:
- Labels: A label is basically like a folder. If you want to use a label to make it easier to find your campaign(s) for later use, use the pulldown menu to name and manage your labels.
- Caller ID: The caller ID is the number that folks see when the Voice Broadcast calls them. If this is your first IVR broadcast, or you wish to add another caller ID number, click on the New Caller ID button and follow the instructions for verifying a caller ID number. If not, then select one of your existing caller ID numbers from the pulldown menu.
-
Restrictions: This box offers you several important options ...
- Local Time Dialing Restrictions: Click the box, then select the hours during which you want calls made from the pulldown menus.
- Automatic Retry: Decide whether or not you want the system to retry numbers it didn't reach the first time. Designate the number of retries, the length between them, and which features you want to enable.
- Max Simultaneous Calls: Enter the maximum number of calls that you want CallFire's powerful system to simultaneously dial for you.
- Maximum Tranfers: Enter the maximum number of transfers you want to allow.
- Schedule: If you want your campaign to begin right away, select the Start Immediately box. Otherwise, click on the Add Schedule button and complete the settings in the Create Schedule pop-up box. After you click the green Create Schedule button, you'll be returned to the Settings tab, and you'll see your schedule in the Schedule section.
When you're done, click on the green Finalize button.
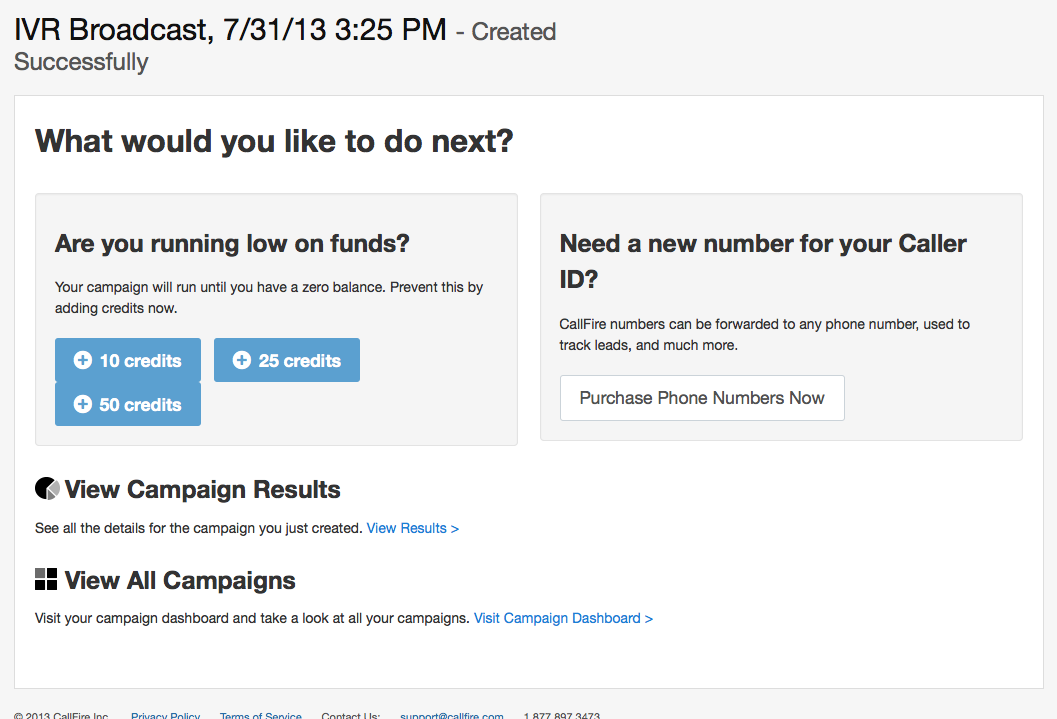
Suddenly, you'll see the IVR Broadcast - Created Successfully screen, as shown below. Just click on one of your two options!