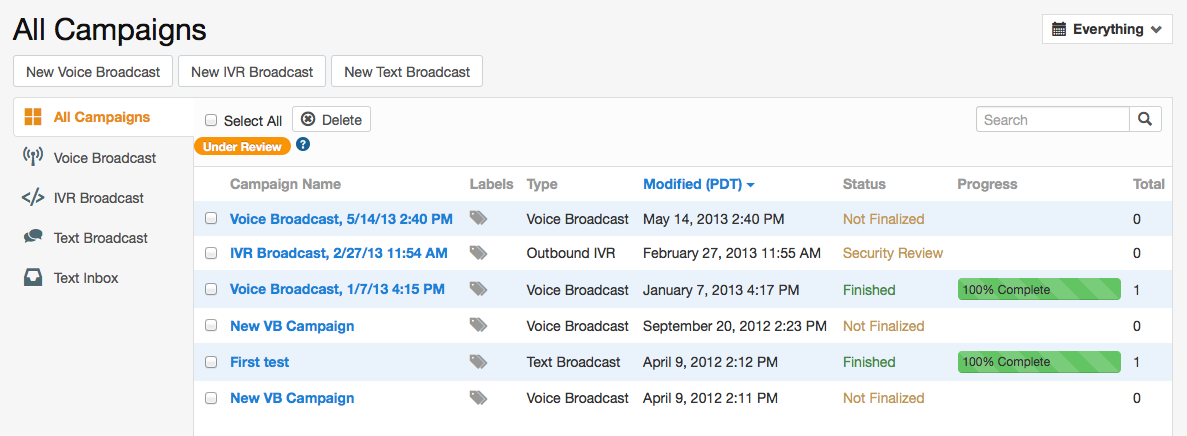
Once you log on to our system, you'll arrive at the All Campaigns page. We'll discuss the various parts of this page later. Right now, let's start with an overview of the top navigation bar. This bar features five important buttons that make creating and managing your campaigns, and their components, really easy!
Top Navigation bar
When you arrive at the All Campaigns page, you'll notice a top navigation bar, as seen below. It contains five buttons that are essential to using the CallFire system. Let's take a look at each.

Create
When you click on the Create button (seen above), you are taken to the Create Campaign screen (seen below).
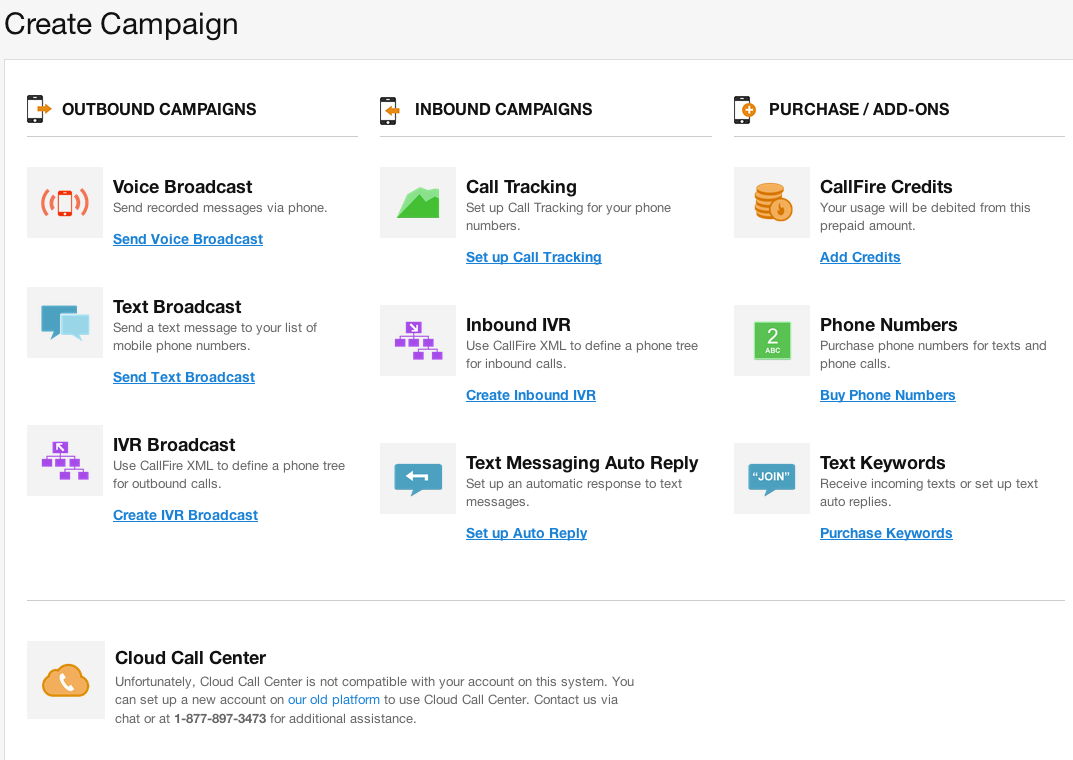
This screen is where you'll create most of your CallFire campaigns, as well as access many important features. Information on how to create campaigns can be found in the help sections of each major product category.
Campaigns
The Campaigns button (above) takes you to the All Campaigns screen (below), which shows you the status of your campaigns. To get more specific information on campaigns in individual product categories, such as Voice Broadcast or Text Broadcast, just click on the name of the category in the left-hand column.
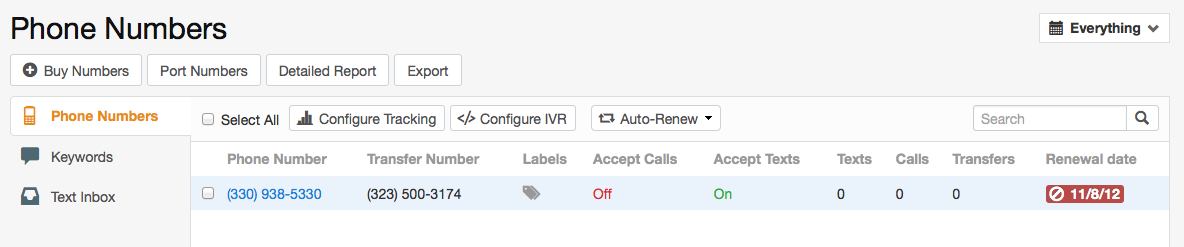
Numbers
The Numbers button (above) takes you to the Phone Numbers page, where you can purchase phone numbers, port numbers, configure numbers you have purchased, configure IVRs, add keywords, set up text auto-replies, set up triggers, manage labels, and view reports.
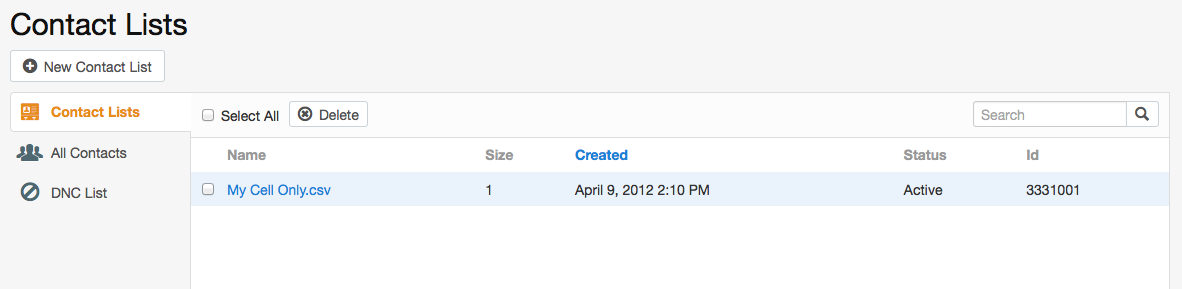
Contacts
A quick click of the Contacts button takes you to the Contact Lists screen. Here, you can add lists of contacts and manage them, and do the same for your Do Not Contact lists. You'll find more information on how to do this in the Contact Management and Do Not Call sections of this help guide.
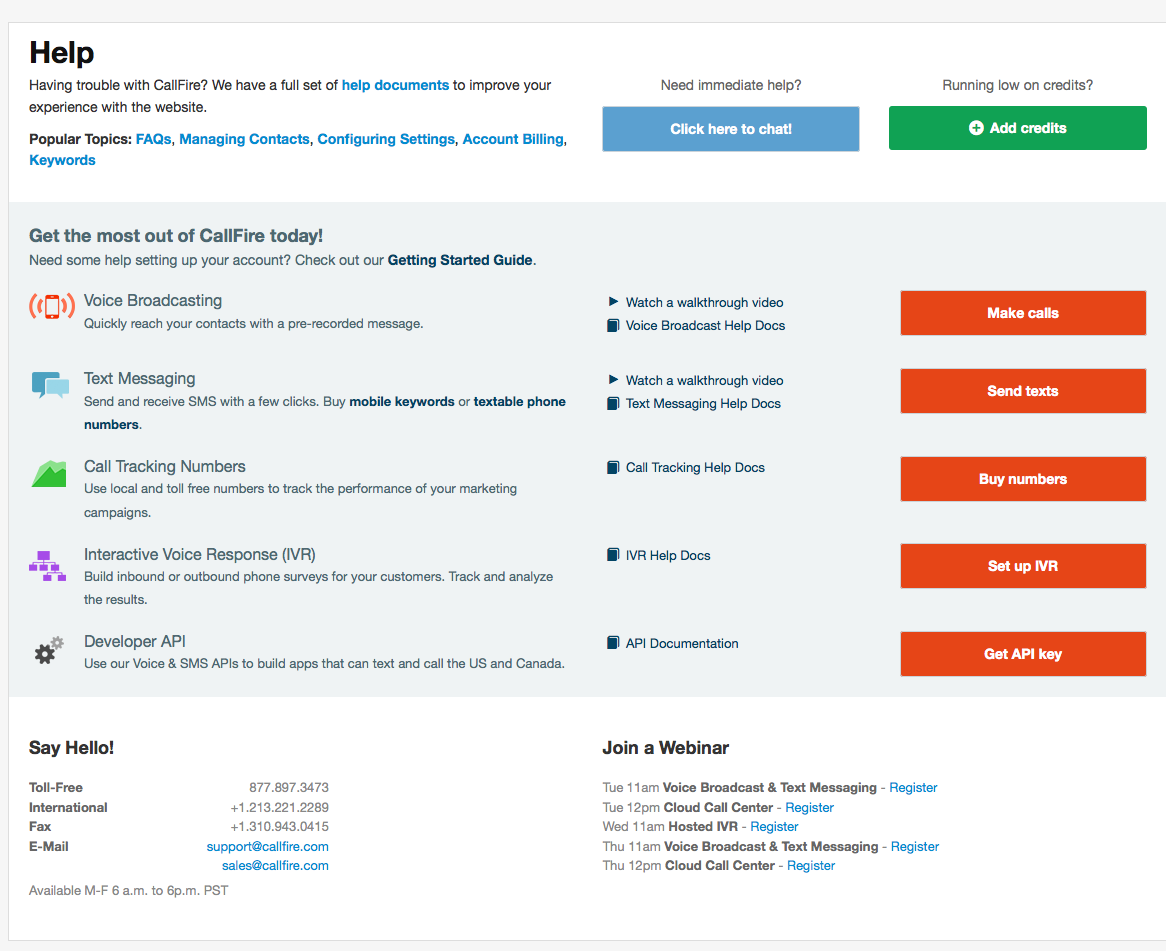
Help
The Help button is your gateway to the the Help section of the CallFire site. When you select it, a pop-up window appears, offering you access to a wealth of Help Documents, as well as Support contact information.