In our first section, you learned the initial concepts of keywords and how they can benefit you and your business. You also learned how they are used in conjunction with the CallFire shortcodes in Text Broadcast and other advertising campaigns. Now, it's time to discover some of the other steps you need to take to bring the power of keywords to your business's bottom line. One of those steps is utilizing auto-replies. Come along!
- Jump to Section
- What is an Auto-Reply?
- The Triggers tab
- The Compose tab
What is an Auto-Reply?
You want to advertise your business. You place ads or send texts telling potential customers that they'll receive promotional coupons if they text in the word "CHOCOLATE" to your chocolate shop at the number — your CallFire shared shortcode — that you provide them. And they do so.
So, what happens next?
The answer: You send them a text auto-reply, via CallFire.
Auto-replies are really easy to set up in CallFire's system, and they are incredibly effective. Instead of having to personally respond back to each person who responds to your ad, CallFire does it for you.
The Triggers tab
Assuming you've already purchased a keyword, log in to your CallFire account, which takes you to your dashboard, as shown below. Click on the Create button.
This takes you to the Create Campaign page — shown below — where you'll want to click on Create Auto-Reply in the Text Auto-Reply box.

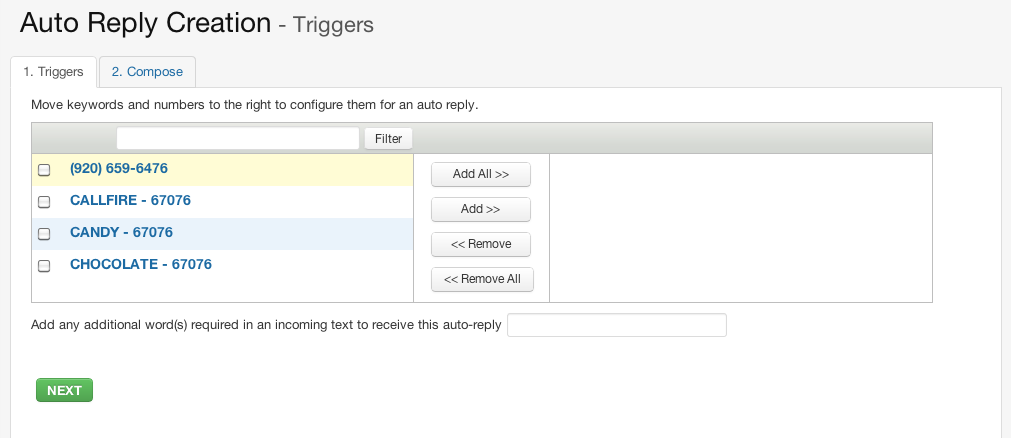
By doing so, you arrive at the Auto-Reply Creation page, which we call the Triggers tab. You'll see your keywords in the left-hand column. Put a check in the box of the keyword(s) for which you want to create an auto-reply, and then click the appropriate Add button. Then, click the green NEXT button.
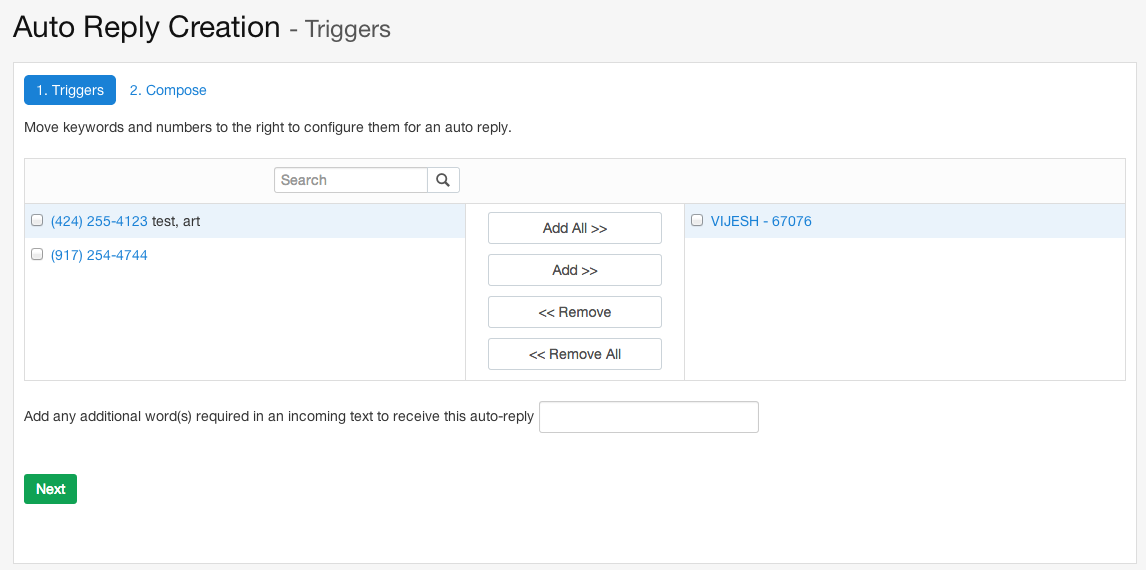
You'll then see your keyword(s) in the right-hand column. If you want to include an additional word that customers can use to trigger an auto-reply from you, enter them into the additional triggers box at the bottom. Then, click the green NEXT button.
The Compose tab
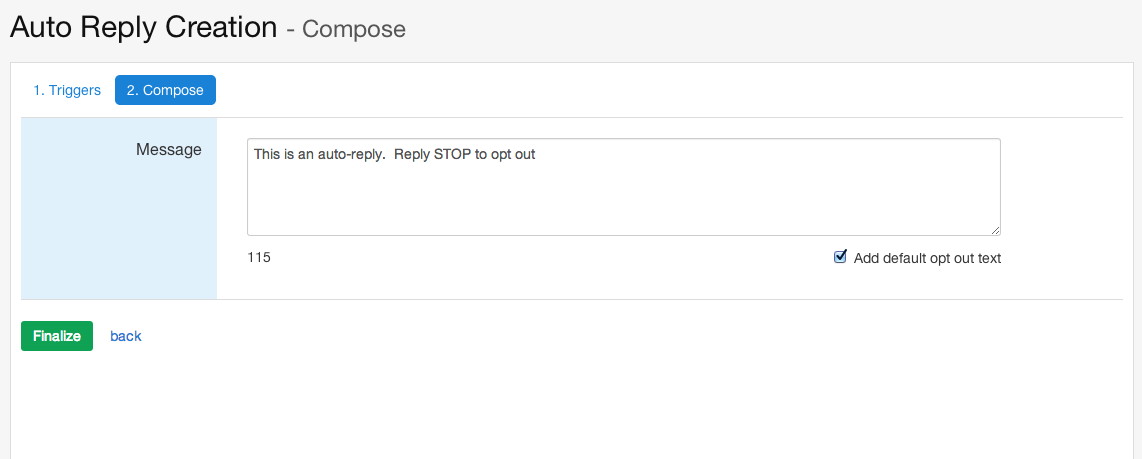
This brings you to the Auto-Reply Creation - Compose page, or Compose tab. Enter your auto-reply of 160 characters or less into the box. As shown below, be sure to include an opt-out option. We'll discuss the creation and importance of opt-outs in the next section. Click the green FINALIZE button.
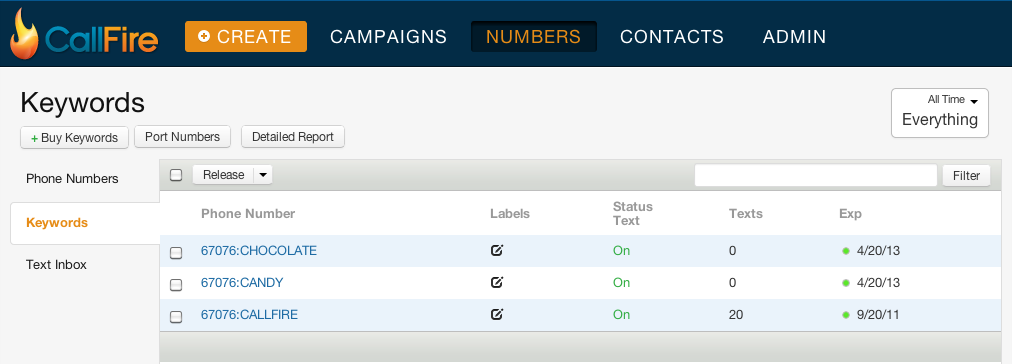
This takes you to the Keywords screen, where you'll see your keywords and the various statuses and information for them listed. Your keywords are now ready for use in advertising and Text Broadcast campaigns.